
Set up your business
Add your company name, logo, contact details and booking-page basics so every quote, invoice and booking page looks like you from day one.
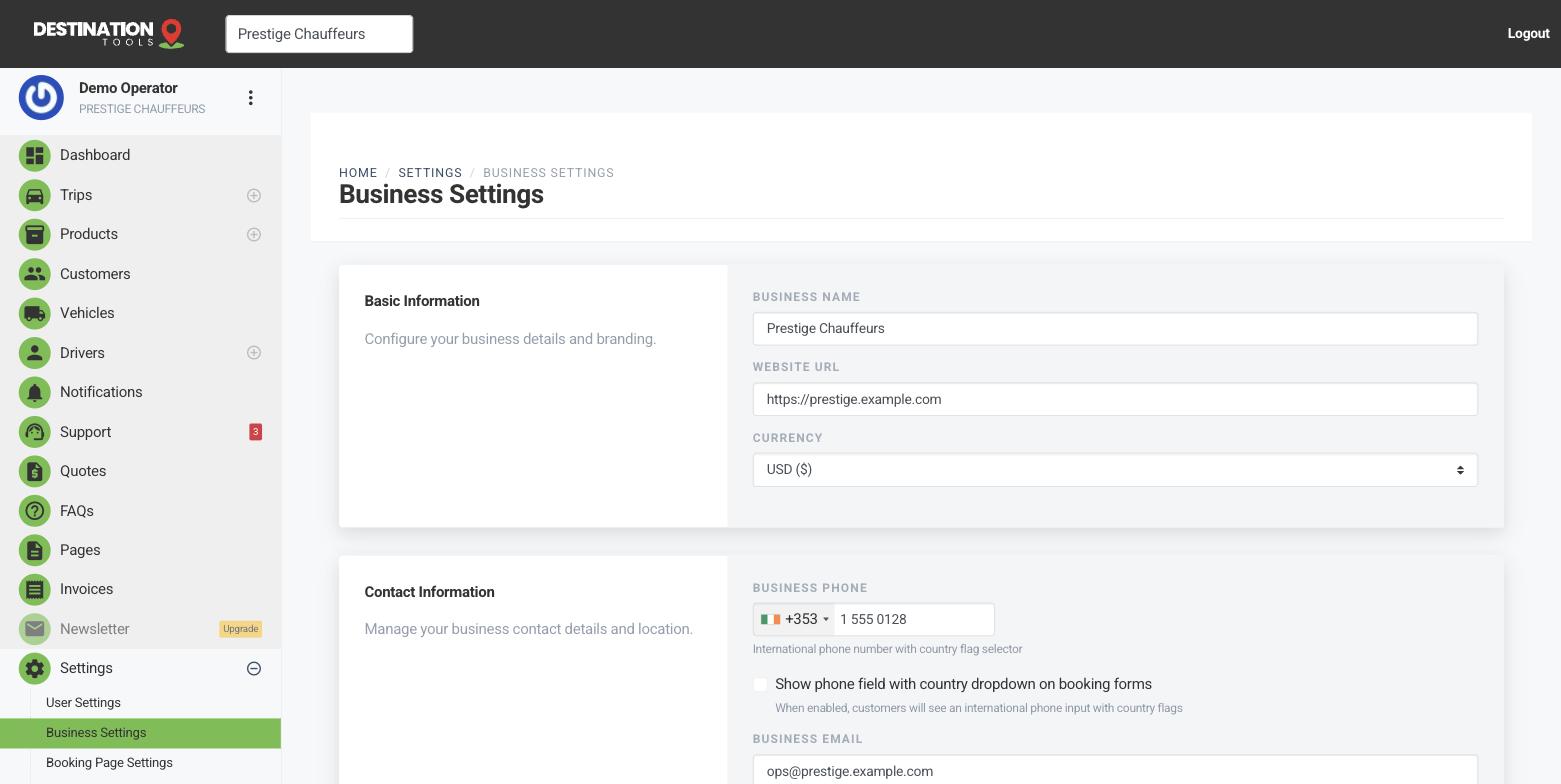
Business basics
Open Settings → Business Settings and add your company name, logo, phone, email and address. These details appear on your quotes, invoices and public booking page, so getting them right makes every customer-facing document look professional. A clean logo and a real phone number do a lot of the trust-building for you before a customer even picks up the car.
Where to find it
Dashboard → Settings → Business SettingsCurrency, VAT and payments
Set your currency so trips and quotes price correctly. If you charge VAT, add your rates under Settings → VAT Settings — they then appear as their own line on quotes and invoices. To take card payments, connect a provider under Settings → Payment Settings: see Connect Stripe.
Where to find it
Settings → VAT Settings · Settings → Payment SettingsBooking-page basics
Your logo and colours carry through to your public booking site, where customers enter a route, pick a vehicle and confirm. Tune how it looks and behaves under Settings → Booking Page Settings — you can publish your Terms & Conditions and Privacy Policy as Pages at Dashboard → Pages, add common questions at Dashboard → FAQs, and toggle a testimonials section on.
Notifications and integrations
Decide how customers and drivers are kept in the loop under Settings → Notification Settings — email is on by default, and SMS & WhatsApp are an upgrade. Connect Google Calendar, Google Sheets or Xero under Settings → Integration Settings to push trips and invoices where your team already works.
Next steps
With the business set up, work through your first-trip checklist: add a car, add a driver, then create a trip. Run more than one brand? See Run and switch between businesses.
Still need help?
Can't find what you're looking for? Send our support team a message and we'll reply by email.