
API access & webhooks
Building your own integration? Create an API token and read or write your transport data programmatically over a versioned REST API. This is a developer feature, available on eligible plans.
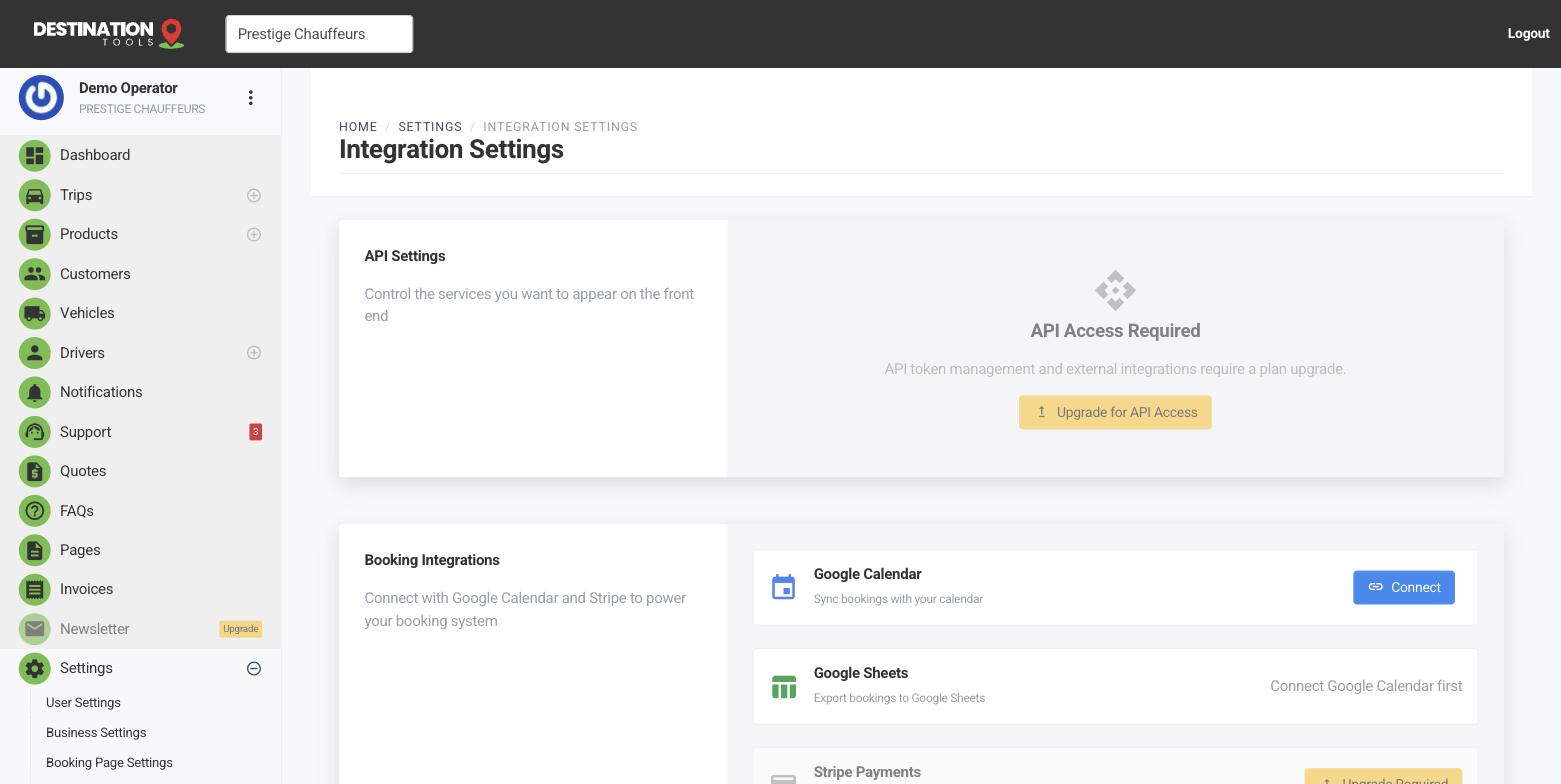
Create an API token
In Settings → Integration Settings, open the API section and create a token. It authenticates your requests as your business, so treat it like a password — copy it somewhere safe when it's shown, and delete and recreate it if it's ever exposed. You can remove a token at any time to cut off access instantly.
Where to find it
Dashboard → Settings → Integration Settings → APIWhat you can do with it
The REST API is versioned under /api/v1/ and authenticated with your token as a bearer credential. You can work with your core transport data — read your business, list and manage trips and vehicles, and create bookings from your own systems — so a website, back-office tool or partner platform can push and pull jobs without anyone re-keying them.
Where to find it
https://your-domain/api/v1/ (Bearer: your token)Keep tokens tidy
Use a separate token per integration where you can, so you can revoke one without breaking the others, and remove tokens you no longer use. Because a token carries full access to your business's data, good token hygiene is the main thing that keeps an integration secure.
Where to find it
Integration Settings → API → Create / Delete tokenReference and webhooks
The full endpoint reference — paths, fields and examples — lives in the developer documentation rather than here, since it's aimed at whoever writes the code. If you need to react to events in real time (a trip booked, an invoice paid) rather than polling the API, get in touch about webhook options for your integration via Contact support, and we'll point you at what's available.
Still need help?
Can't find what you're looking for? Send our support team a message and we'll reply by email.